


Do not clean, polish or repeatedly refit a broken part before deciding what evidence must be preserved. Medical device failure analysis begins with a controlled description of the event and the condition of the returned hardware. A damaged thread, cracked housing or leaking joint may contain clues that disappear during well-intentioned handling.
The objective is to establish the physical failure mechanism and its credible causes, then determine what can be inferred about other product. That is different from immediately blaming a material or opening a generic corrective-action form. Device owners must also follow their applicable safety, complaint and reporting procedures; this article addresses engineering evidence from manufactured components.
Preserve the Scene Before Improving the Sample
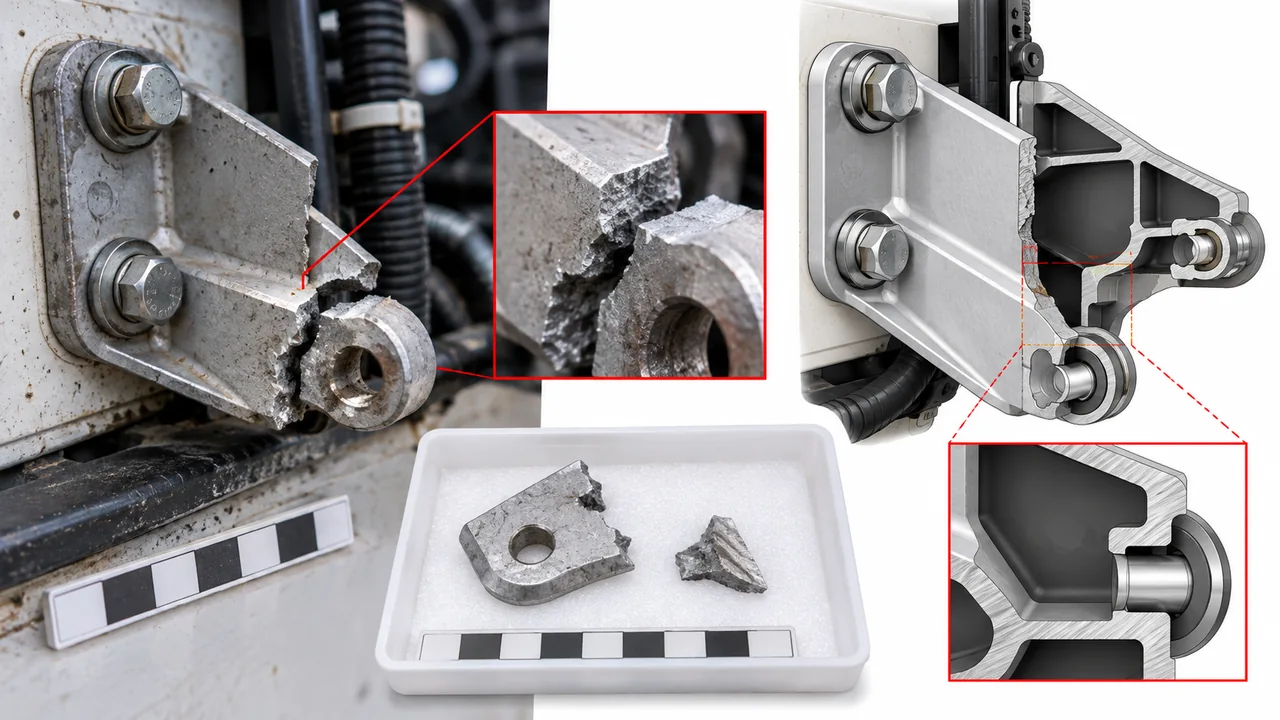
Document how the sample arrived, its identification, packaging and visible condition. Photograph the assembly from several views before disassembly. Record the reported operating state, loads, exposures and sequence of events, while distinguishing confirmed facts from the user’s recollection or the investigator’s assumptions.
Quarantine the hardware and define authorized handling. Do not force fracture faces together, apply an unapproved preservative or remove deposits merely to obtain a cleaner image. A qualified laboratory should direct preparation when the evidence requires specialist analysis.
Preservation is a general principle of physical investigation. The PHMSA metallurgical examination protocol explicitly warns against cleaning or damaging fracture evidence. Its application here is methodological, not a medical-device regulatory requirement.
Keep an evidence log as the sample changes hands. If destructive sectioning becomes necessary, document where the cut will be made and which surfaces must be protected. Retain material for alternative hypotheses rather than consuming the entire sample in the first test.
State the Failure in a Way That Can Be Tested
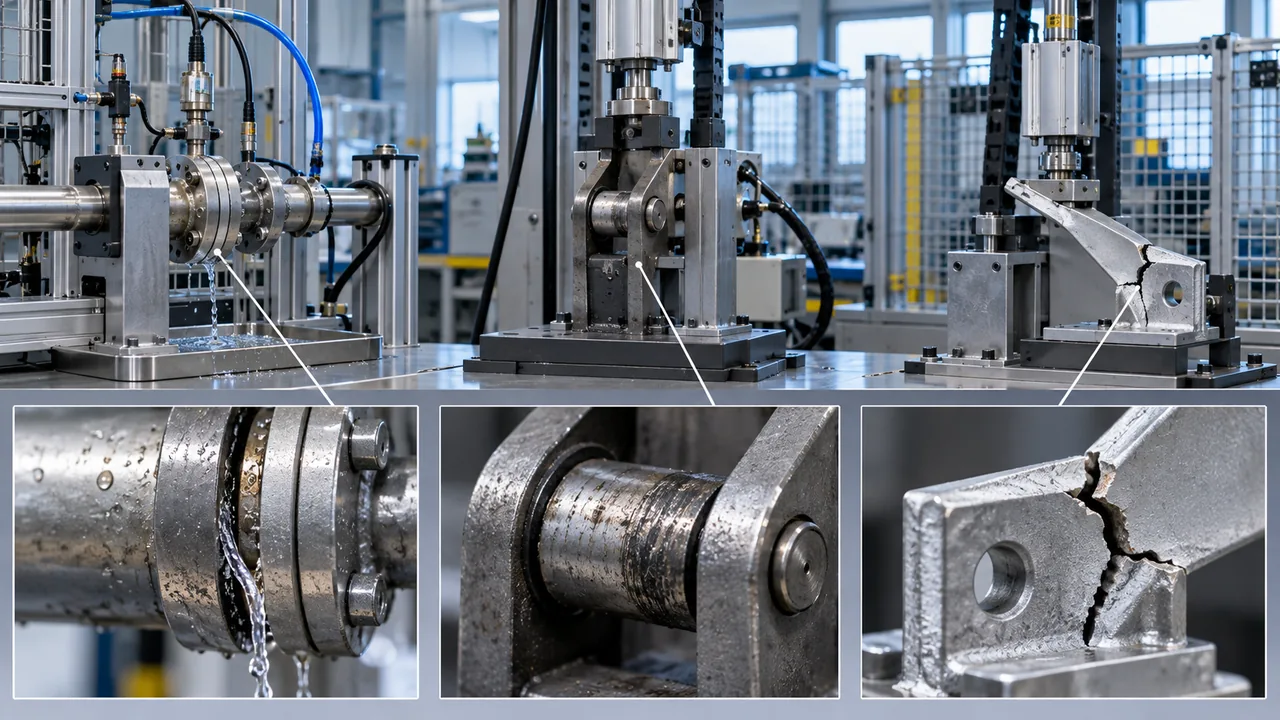
The housing is bad is not a testable statement. The housing cracked beside the lower mounting boss during assembly under a recorded fastening condition identifies a location, event and potential load. A useful statement also identifies the part revision and whether the observation is repeatable.
Separate the symptom from the mechanism. Leakage is a symptom; loss of seal compression, a damaged sealing land or a cracked wall may be mechanisms. The investigation should determine which mechanism fits the evidence before proposing a manufacturing change.
Create a timeline through the medical device manufacturing processes route. Include machining or molding, finishing, cleaning, assembly, packaging and the reported use. This prevents the investigation from focusing only on the process that produced the largest visible feature.
An Illustrative Cracked-Boss Investigation
Consider a molded cover that cracks around a metal screw. Possible causes include assembly preload, local geometry, material condition, a molding-related weakness or chemical exposure. The crack’s location alone cannot distinguish these alternatives. Compare the fracture origin, screw engagement, boss dimensions and process history before deciding that a stronger resin is the answer.
Choose Tests That Discriminate Between Causes
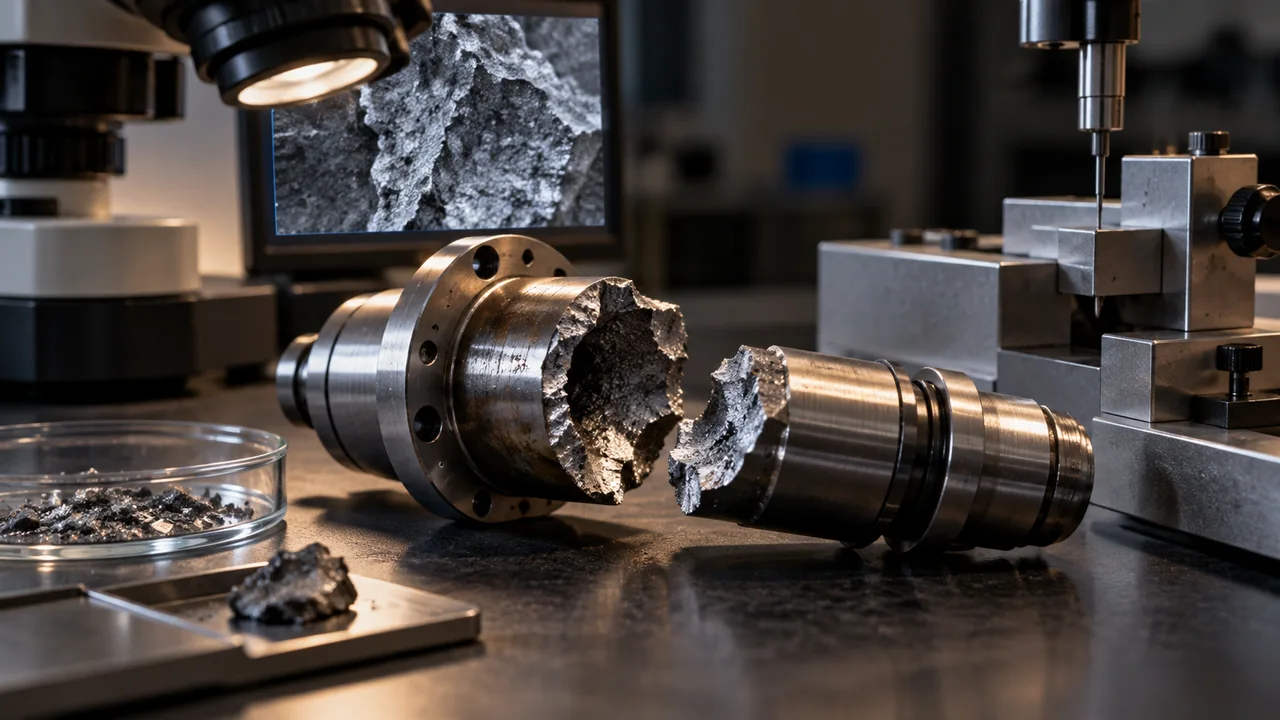
An effective test helps distinguish competing explanations. If the concern is an incorrect dimension, relevant metrology may answer it. If the concern is a material change, dimensional inspection alone cannot establish grade identity or explain chemical degradation.
| Observation | Plausible mechanisms to consider | Evidence that may help discriminate |
|---|---|---|
| Crack beside a molded boss | Assembly stress, geometry or material condition | Fracture examination, dimensions and assembly records |
| Seized metal interface | Misalignment, surface condition or excessive loading | Contact marks, fit measurements and operating history |
| Coating separation | Surface preparation, adhesion or exposure | Interface examination and finishing records |
| Intermittent leak | Seal damage, compression or distorted mating surfaces | Seal condition, flatness and assembly-state testing |
| Premature wear | Contact load, debris or material pairing | Wear pattern, debris examination and geometry review |
Non-destructive examination should usually precede destructive work when it can preserve useful context. The exact order depends on the sample and investigation; a qualified specialist should select methods and identify their limitations.
Avoid collecting impressive-looking tests that do not answer a hypothesis. A hardness number, microscope image or elemental result can be informative, but only when related to the mechanism under investigation. Explain what a finding supports and what it cannot establish.
Compare Like With Like, Including Unfailed Hardware
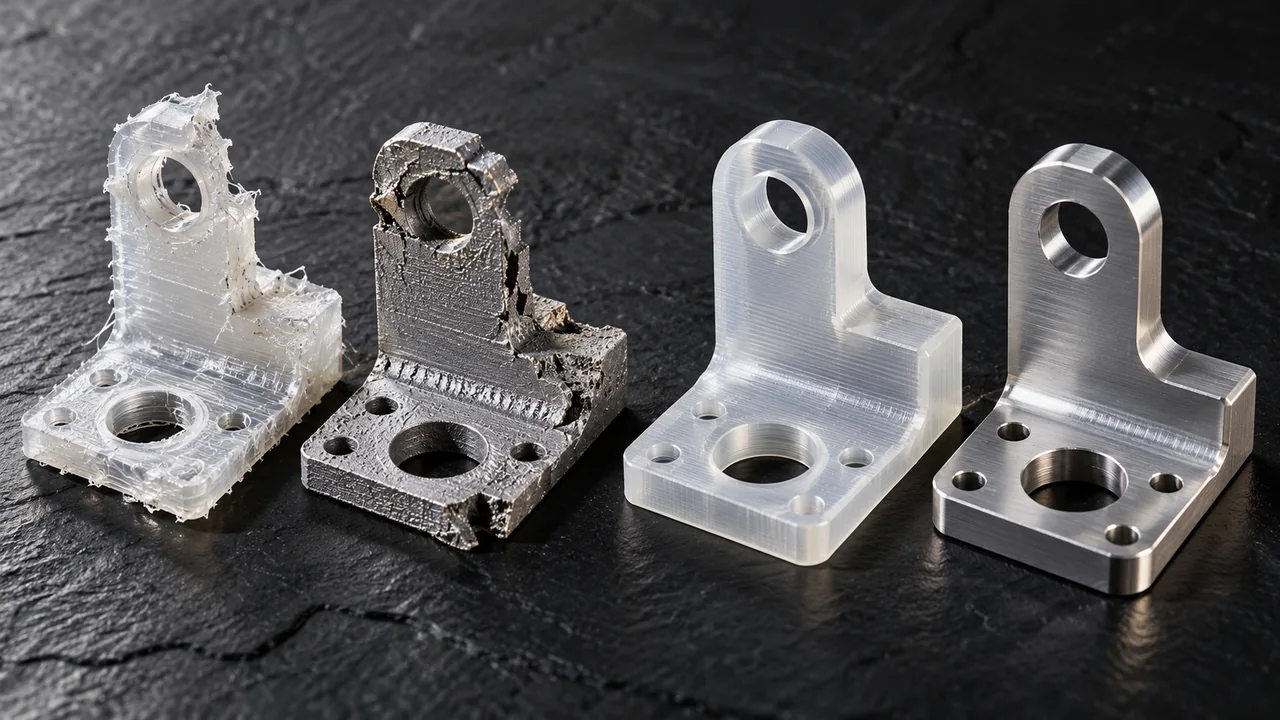
A failed part is most useful when compared with relevant controls. Obtain an unfailed part from the same lot where possible and a suitable reference from another lot or revision. Preserve the difference in service history: a new control and a heavily used return are not interchangeable.
Check whether the compared components share material grade, tool cavity, finishing route and assembly state. A visually identical spare part may have a different manufacturing history. Document that uncertainty instead of treating visual similarity as equivalence.
For a machined stainless steel component, examine whether the functional surfaces, burr condition and material records agree with the approved package. A material certificate alone cannot prove that a bearing contact or threaded feature was manufactured and assembled correctly.
Look for population information without overclaiming. One failure can establish that an event occurred, but it may not reveal its frequency or scope. Determine which lots or configurations share the suspected cause and what additional evidence is required before extending the conclusion.
Reproduce the Mechanism Without Inventing the Event
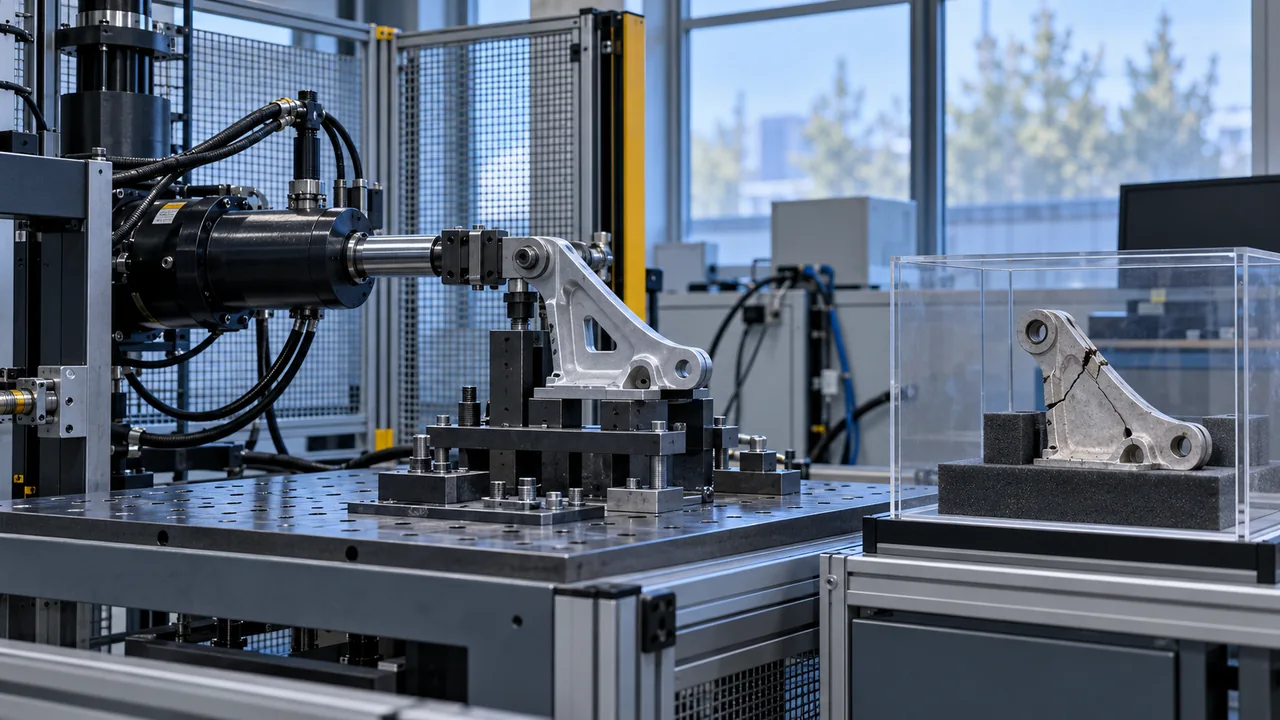
Replication testing can strengthen a causal explanation when its conditions represent the reported event. Establish loads, assembly conditions and environmental exposures from available evidence. If a value is unknown, study a justified range and identify the assumption explicitly.
Do not force a sample to fail under extreme conditions and claim the reproduced damage proves the original cause. Similar appearance is useful only when the load path, material state and sequence also make sense. Alternative mechanisms should remain in consideration until the evidence distinguishes them.
Usar prototyping to test a proposed geometry or interface change, but recognize process differences. A machined prototype may not reproduce a molded weld line, and a printed part may not reproduce the production polymer’s fatigue behavior. Select the prototype route around the hypothesis.
Keep the original evidence separate from development samples. Reworked hardware can be valuable for exploring a remedy, but it no longer represents the untouched return. Label the role of each sample so later reviewers do not confuse investigation evidence with an improved design.
Turn the Finding Into a Bounded Manufacturing Action
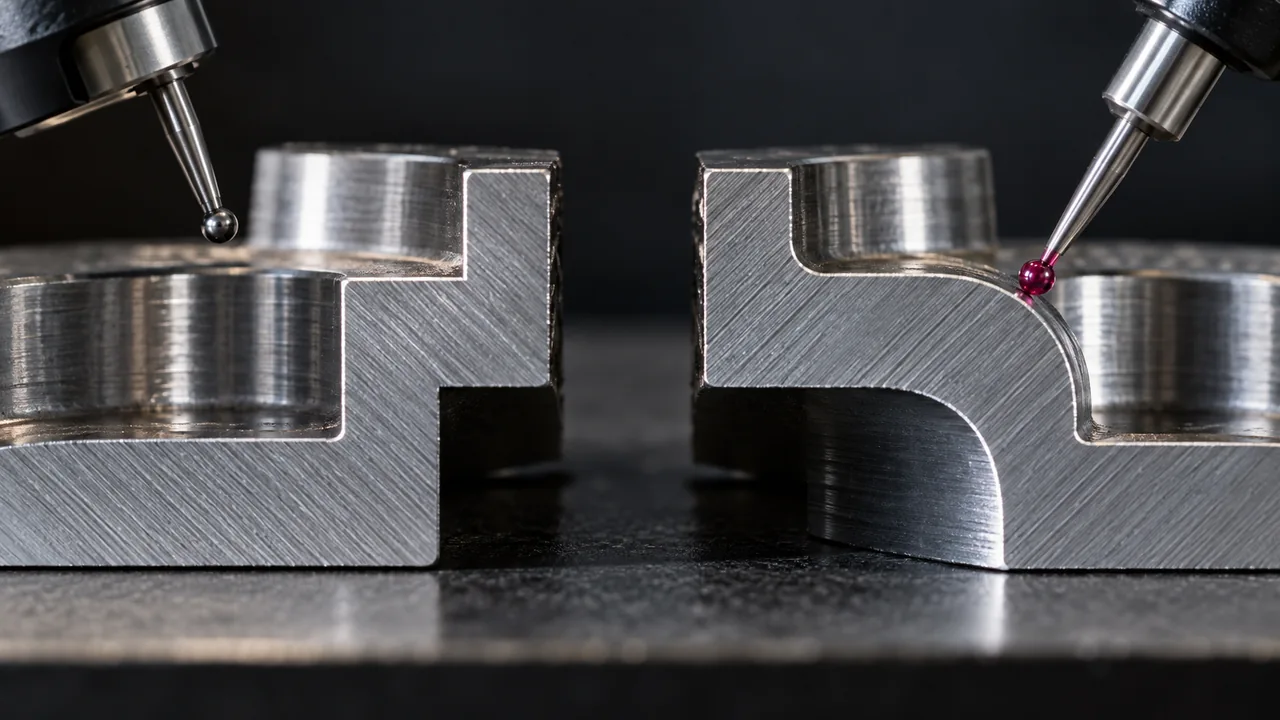
Report the supported mechanism, contributing factors, uncertainty and affected scope. Explain why the recommended action addresses the cause. If the problem is assembly stress, a blanket increase in dimensional inspection may detect little and leave the mechanism unchanged.
The existing medical device quality control discussion can support revised inspection and acceptance planning. Keep the immediate physical investigation distinct from the broader corrective-action system, which must manage implementation, effectiveness and controlled records.
In a Jucheng project, supply the relevant returned hardware information, controlled drawings and manufacturing history available to the device owner. Agree which component measurements or representative samples are needed and which specialist investigations are external. Avoid promising a root cause before the evidence has been examined.
Can We Just Replace the Failed Material?
Only after establishing why the original material or configuration was unsuitable. A stronger material can change stress distribution, assembly behavior and downstream validation needs. If the cause is an incorrect load or geometric concentration, substitution may simply move the failure elsewhere.
How Certain Must the Final Conclusion Be?
The conclusion should match the evidence. State confirmed findings separately from probable contributors and unresolved questions. A defensible report can acknowledge limitations; unsupported certainty is less useful than a clear plan to resolve the remaining uncertainty.

