


For a broader view of manufacturing options, see our Consumer Products manufacturing solutions. This guide explains how product teams can evaluate injection molding from early design validation through prototype tooling, first articles, pilot runs, and production planning.
When is injection molding the right choice?
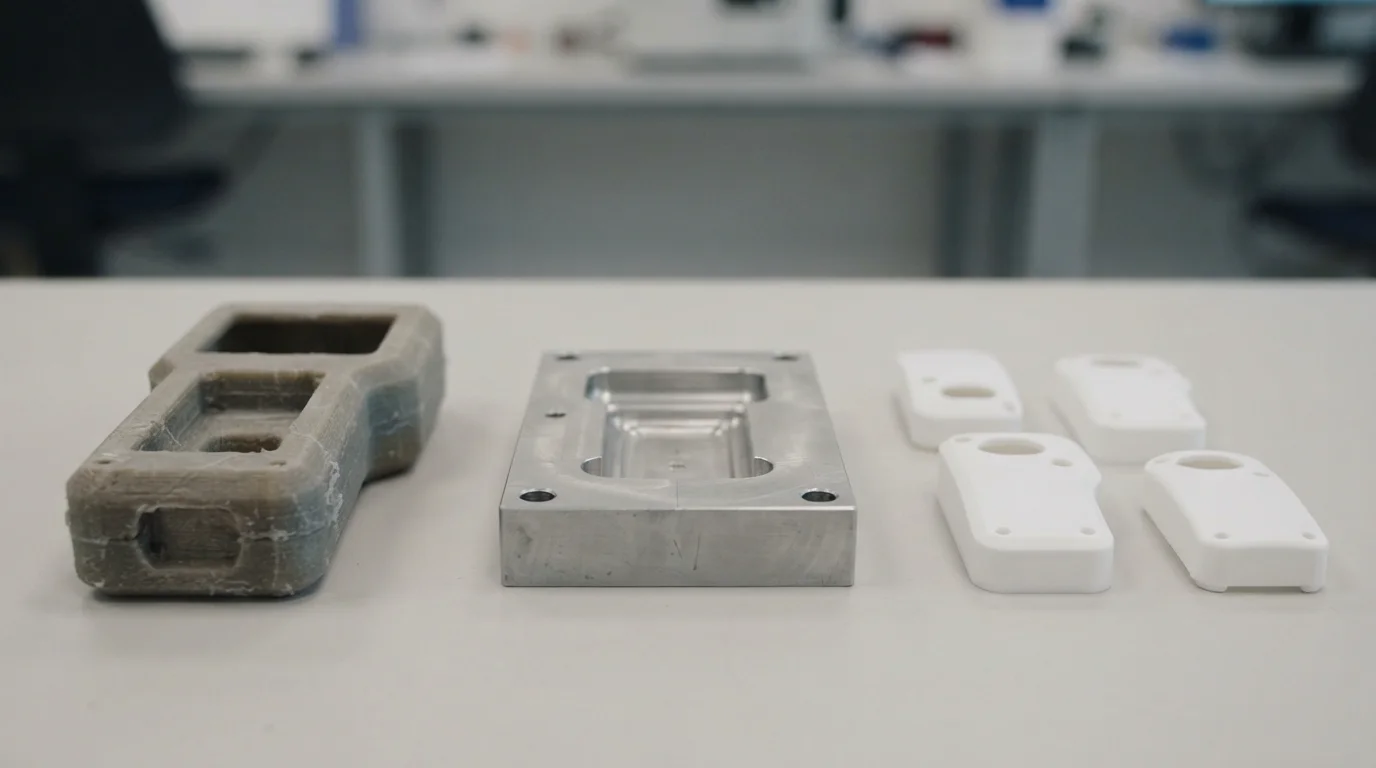
Injection molding becomes attractive when the product requires repeatable polymer parts, consistent cosmetic surfaces, integrated features, or a production quantity that can justify tooling. It is often considered for housings, covers, handles, brackets, closures, knobs, internal supports, and other components used in consumer electronics, small appliances, sporting products, and household goods.
The process should be selected according to the product stage and the evidence required. Early concepts may be better served by a rapid appearance or fit model. When the team needs to evaluate the actual production resin, molded surface, snap fit, living hinge, or repeatability, injection molding or representative prototype tooling may provide more useful evidence.
| Project situation | What injection molding can provide | Important decision |
|---|---|---|
| Early concept | Production-oriented feedback on part architecture and moldability | Is the design mature enough to invest in tooling? |
| Functional validation | Parts with a closer relationship to the intended resin and molded geometry | Which performance risks must the samples answer? |
| Pilot production | Repeatable parts for assembly, user evaluation, or controlled market testing | Does the tool strategy match the expected demand? |
| Production launch | Scalable manufacture of consistent polymer components | Are quality, inspection, maintenance, and change control defined? |
Injection molding is not automatically the lowest-cost choice for a small number of parts. Tooling, engineering changes, material preparation, setup, and inspection can dominate the early budget. A sound comparison may include prototipado rápido for early geometry, machining for rigid or highly accurate samples, and molding when the evidence depends on production-like plastic behavior.
How should the part be designed for molding?
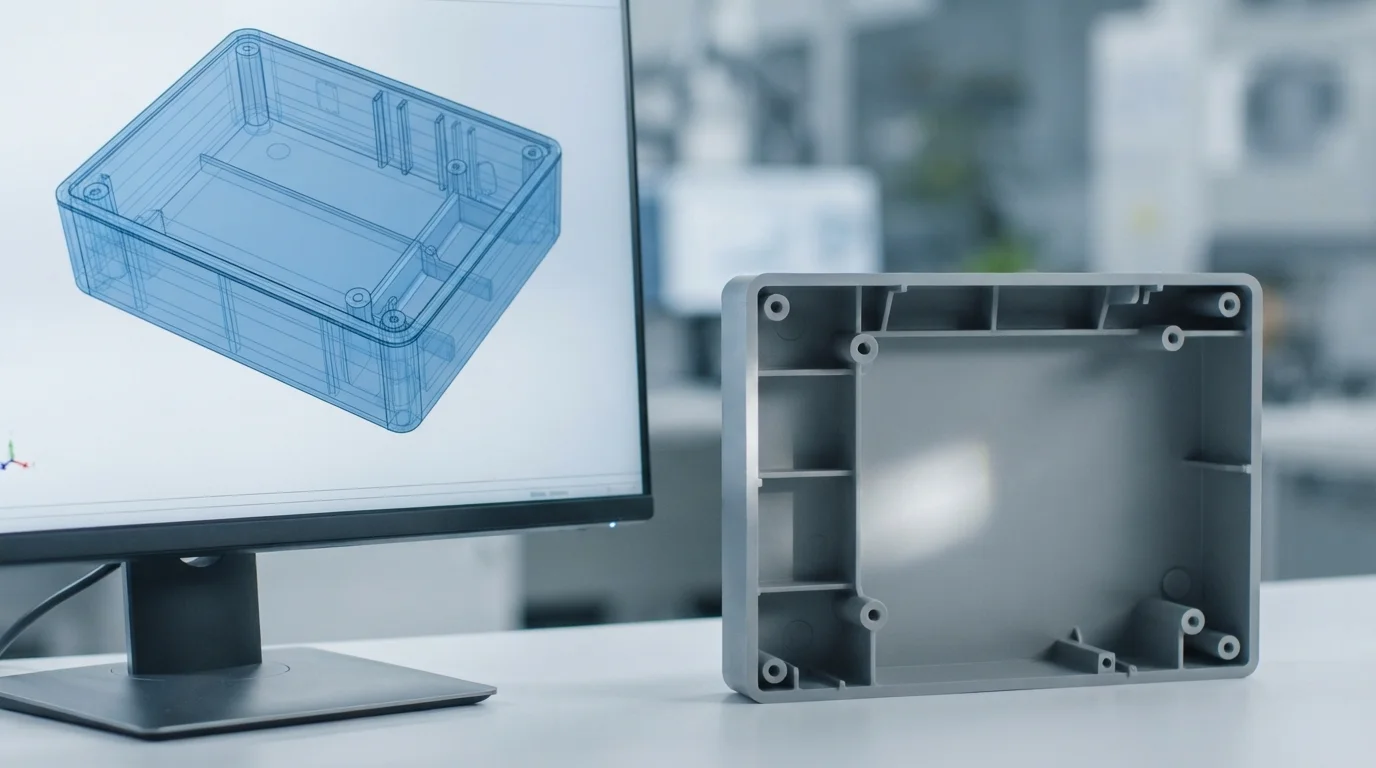
Design for injection molding starts before the mold is quoted. The part must be considered as a cavity that fills, cools, shrinks, and releases from the tool. Features that look simple in a CAD model can create filling imbalance, trapped air, difficult ejection, visible sink, warpage, or a parting-line problem if they are not reviewed with the intended resin and tooling direction.
Key design questions include:
- Wall transitions: Can the main walls remain reasonably consistent, or are thick sections likely to cool differently and create cosmetic or dimensional variation?
- Draft: Can faces release from the mold without scuffing, distortion, or excessive ejection force?
- Ribs and bosses: Do they provide useful stiffness and fastening support without creating unnecessary thick zones?
- Fillets: Are sharp internal corners replaced with practical radii to reduce stress concentration and improve material flow?
- Parting line: Can the tool split be placed where it is acceptable for function, appearance, and assembly?
- Gates and ejectors: Can gate marks, weld lines, and ejector marks be positioned away from critical cosmetic or contact surfaces?
- Socavados: Is a side action, lifter, insert, flexible release feature, or geometry change required?
These are design decisions, not just mold-shop corrections. An early DFM review can compare alternative parting lines, wall strategies, fastening features, and assembly splits before the team commits to tool steel or production tooling. The exact recommendation depends on the part geometry, resin, finish, and target quantity; generic rules should not replace an engineering review.
For consumer electronics and appliance housings, also review cable paths, PCB clearances, heat sources, screw bosses, snap features, gasket locations, and service access. For handles, grips, and wearable or sporting components, review contact pressure, flexing, texture, and the relationship between a rigid molded shell and any soft or flexible component.
How do material and tooling choices affect the project?
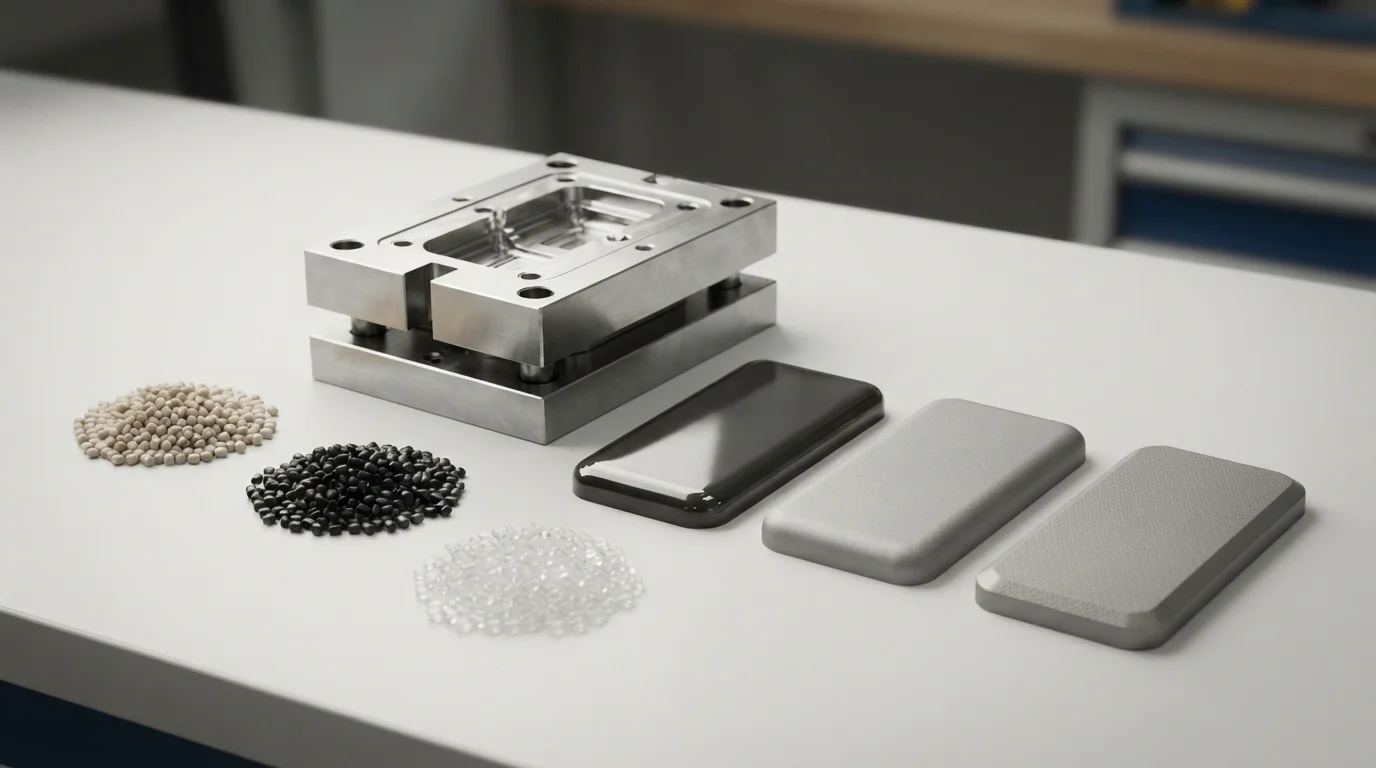
Resin and tooling decisions are linked. The material influences flow, shrinkage, stiffness, impact response, heat resistance, chemical exposure, surface appearance, and long-term behavior. The tool strategy influences how quickly the team can iterate, how many parts can be made, the level of cosmetic control, and how the project can transition to a longer-life production tool.
| Decision | Questions to ask | Why it matters |
|---|---|---|
| Production resin | What loads, temperatures, chemicals, UV exposure, touch feel, and appearance must the part withstand? | A prototype made from an unsuitable substitute may give misleading functional feedback. |
| Tool material and life | How many shots are expected during development and the next production stage? | Tool investment should match the product lifecycle instead of being chosen in isolation. |
| Surface finish | Which faces are cosmetic, textured, polished, painted, printed, or hidden? | Finish affects tooling preparation, appearance, handling, and inspection. |
| Cavity strategy | Is a single cavity sufficient for validation, or will balance and repeatability require more cavities later? | The right strategy may change as quantity and demand become clearer. |
| Color and additives | Are color, glass fiber, flame resistance, recycled content, or other additives required? | Additives can affect flow, shrinkage, wear, appearance, and compliance documentation. |
Tooling should be discussed as a staged decision. A prototype or bridge tool may be appropriate when the design is still being validated or the initial quantity is limited. A longer-life production tool may make more sense when the design is stable, demand is supported, and the cost of repeated tool changes would outweigh the initial investment.
Do not treat “production-grade” as a universal material claim. The mold, resin, process window, part geometry, and inspection plan determine how representative the resulting samples are. A reputable quote should identify assumptions rather than hiding them behind a generic tool label.
What should be validated before production tooling?
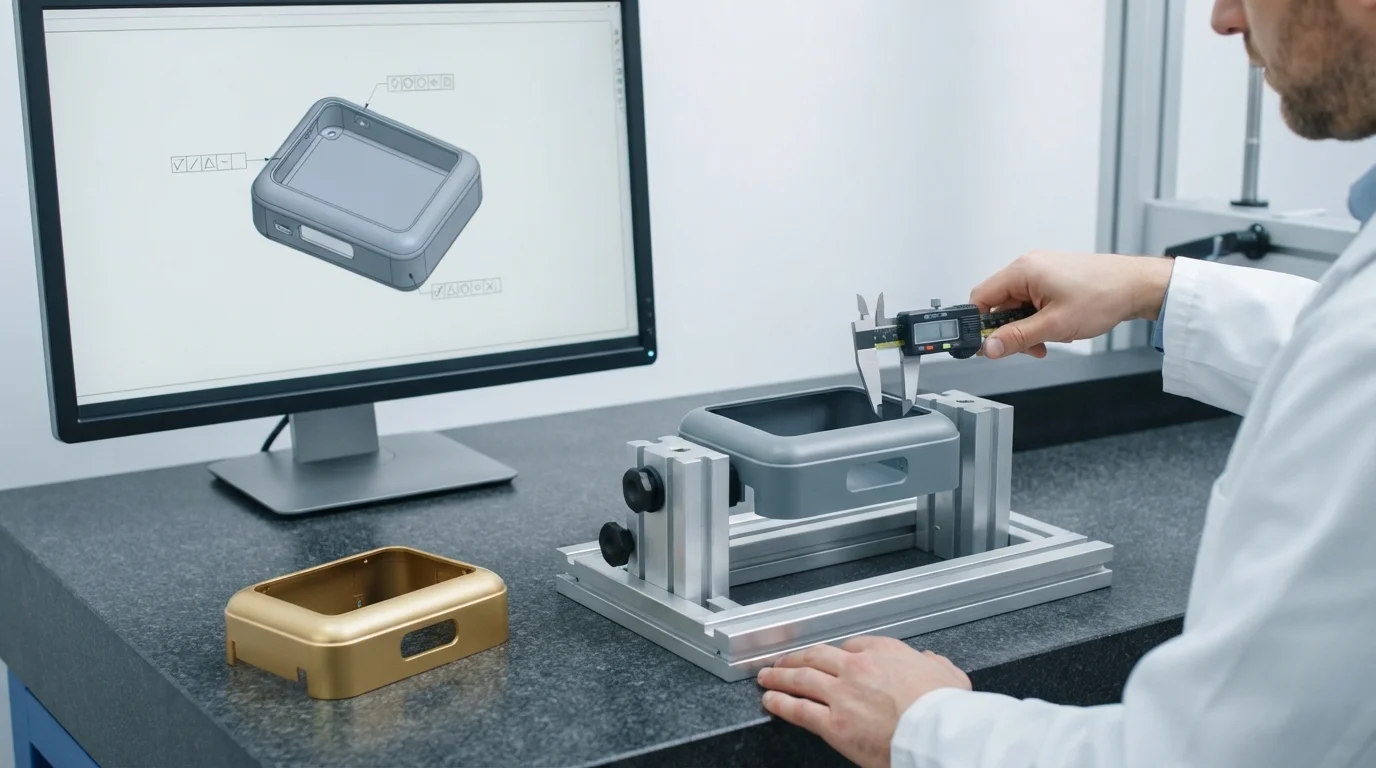
Before releasing production tooling, the team should close the decisions that would be expensive to change later. That does not mean every detail must be perfect, but the remaining uncertainty should be visible and acceptable for the project stage.
- Architecture: confirm that the part split, internal packaging, fastening method, and assembly sequence support the product.
- Function: evaluate snap fits, hinges, buttons, clips, seals, mounts, moving interfaces, and other features under representative use.
- Appearance: approve cosmetic surfaces, texture direction, gloss expectations, color references, gate visibility, and acceptable parting lines.
- Material: confirm the target resin or approved alternatives, including relevant performance and compliance requirements.
- Manufacturability: review draft, walls, ribs, bosses, undercuts, gates, ejectors, cooling assumptions, and likely deformation risks.
- Inspección: identify critical dimensions, functional gauges, reference surfaces, first-article requirements, and cosmetic acceptance criteria.
Use prototype parts to separate design issues from process issues. If a 3D-printed model fails to fit, the CAD design may need revision. If a molded sample shows warpage or a visible weld line, the cause may involve geometry, gate position, process conditions, or cooling. Recording the version, material, tool condition, and observation prevents the team from making conclusions from an untraceable sample.
For a low-volume or bridge stage, our low-volume injection molding service can be evaluated alongside other routes. The correct choice still depends on quantity, geometry, material, finish, and the validation objective.
How can a team move from prototype parts to production?
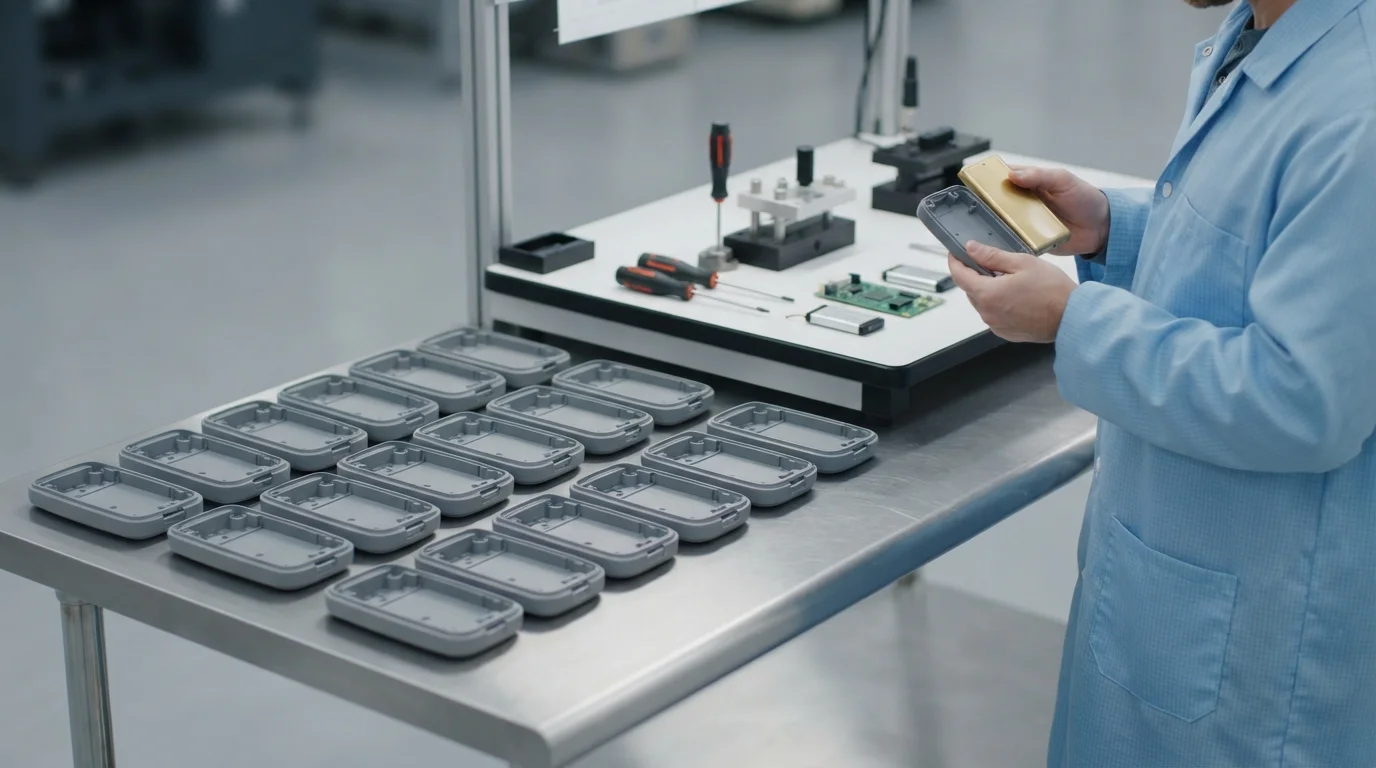
A controlled transition reduces the chance that a design approved on one sample will behave differently during a larger run. Start by defining the approved design revision and reference sample. Then confirm how tooling changes, material substitutions, color changes, and process adjustments will be reviewed and recorded.
A practical transition sequence is:
- Review CAD, drawings, assembly files, material requirements, and cosmetic references.
- Complete DFM and tooling review, including parting line, gate, ejection, cooling, inserts, and side actions where applicable.
- Build or modify the tool according to the agreed scope and verify the first molded samples.
- Inspect critical dimensions and functions, then document cosmetic observations and any deviations.
- Update the tool or part only through a controlled revision process.
- Run a pilot quantity large enough to evaluate repeatability, assembly, packing, and inspection flow.
- Release the production baseline with clear material, drawing, quality, and change-control information.
Production readiness is a system decision, not simply a successful first shot. The parts must be consistent enough for the next operation, the inspection method must be practical, and the sourcing team must understand the expected volume and replenishment plan. When the product may move between prototype, low volume, and higher volume, discuss that roadmap before the first tool is designed.
Where metal brackets, machined inserts, or alternate housing concepts are part of the same assembly, the project may require more than one manufacturing route. A cross-process review can help the team decide which parts should be molded, machined, printed, or fabricated rather than forcing every component into a single process.
What should a consumer product molding RFQ include?
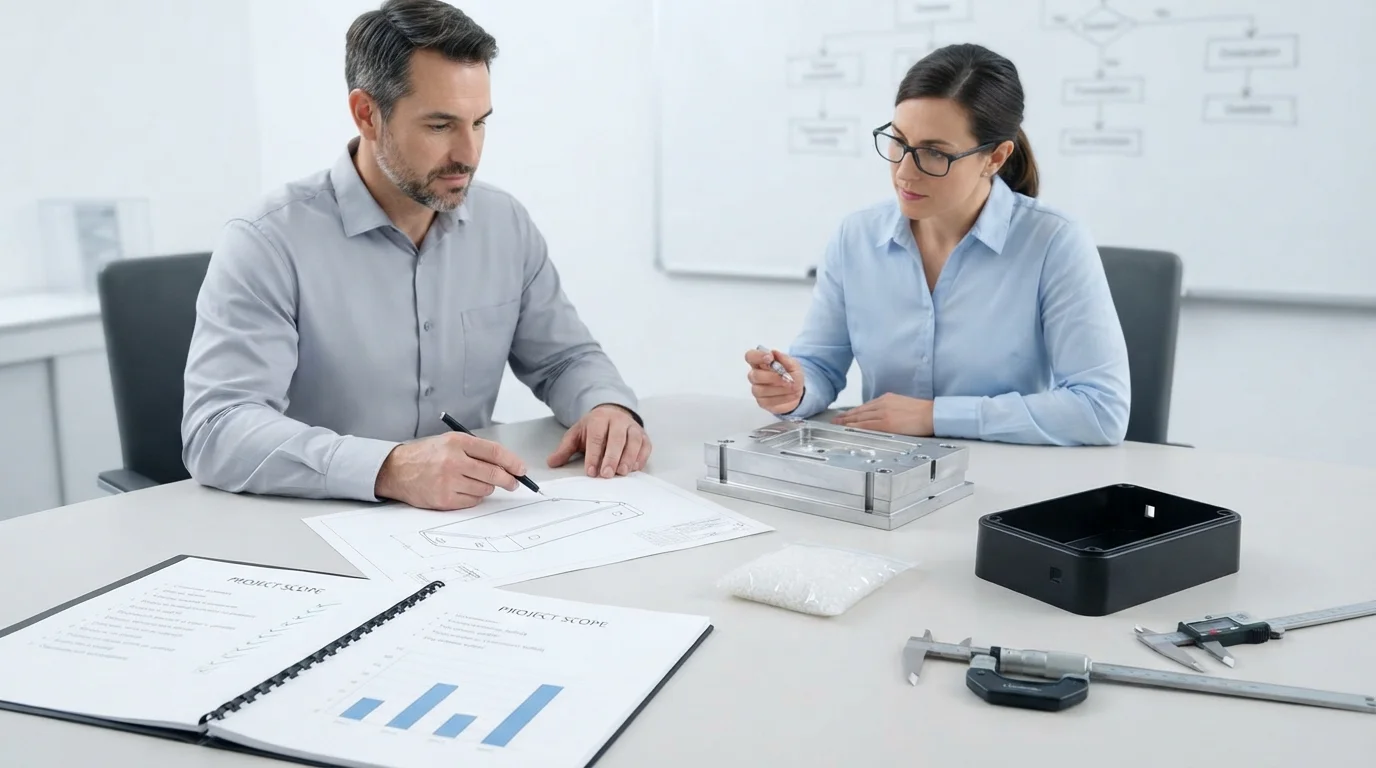
A useful RFQ gives the manufacturer enough context to evaluate both the part and the intended business stage. Sending only a STEP file and a quantity can produce a price, but it may not reveal assumptions about resin, finish, tooling life, inspection, assembly, or future volume.
| RFQ item | Information to provide |
|---|---|
| Product role | What the component does, who uses it, and where it operates |
| Design files | 3D CAD, 2D drawings, assembly context, revision, and critical features |
| Material | Target resin, approved alternatives, color, additives, finish, and compliance needs |
| Tooling plan | Prototype, bridge, or production intent; expected tool life; ownership and change expectations |
| Quantity | Prototype units, iteration count, pilot volume, forecast, and likely reorder pattern |
| Calidad | Critical dimensions, cosmetic standards, first-article requirements, and inspection evidence |
| Schedule | Design review, tool release, sample approval, pilot build, and production decision dates |
Frequently asked questions
Is injection molding suitable for a small consumer product run?
It can be, especially when the part needs repeatable molded properties or the team expects additional units after validation. For very small quantities or an unstable design, machining, additive manufacturing, or another prototype route may reduce risk before tooling is commissioned.
Should the prototype use the final production resin?
Use the final resin when its behavior is important to the decision and the selected process can represent it. When the prototype is only for form or fit, a different material may be acceptable if the difference is documented and does not affect the conclusion.
What is the most important information in a molding quote?
Look beyond the unit price. Confirm the assumed resin, tool scope, cavity strategy, finish, expected tool life, sample and inspection plan, engineering-change terms, schedule, and what happens if the design changes after the first trial.
Consumer product injection molding succeeds when design intent, material behavior, tooling strategy, and quality expectations are considered together. By validating high-risk features before production tooling, defining the evidence required at each stage, and planning the transition from prototype parts to repeatable production, product teams can make a more informed investment and reduce avoidable tooling changes.

