


Assembly is a process, not a final task
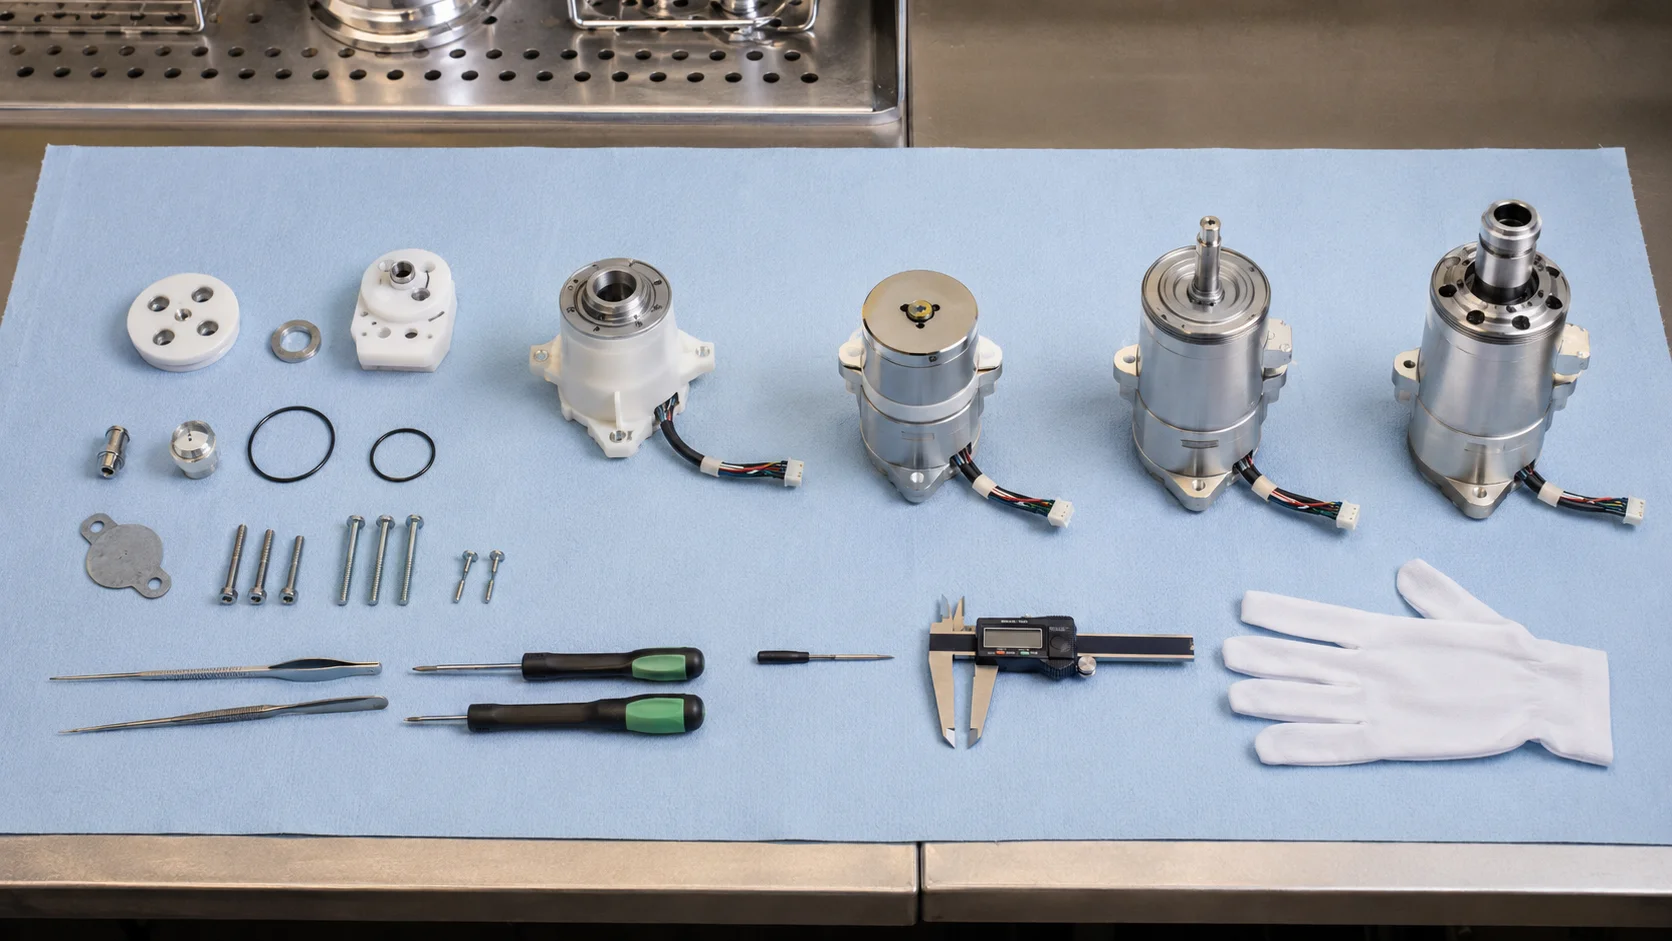
When assembly is left until the end, teams often discover that connectors cannot be accessed, screws require awkward tools, seals are damaged during insertion, cables are trapped, or cosmetic surfaces are scratched by fixtures. These are not only labor problems. They can change the functional evidence produced by the prototype and make it difficult to determine whether a failure came from design, parts, or assembly.
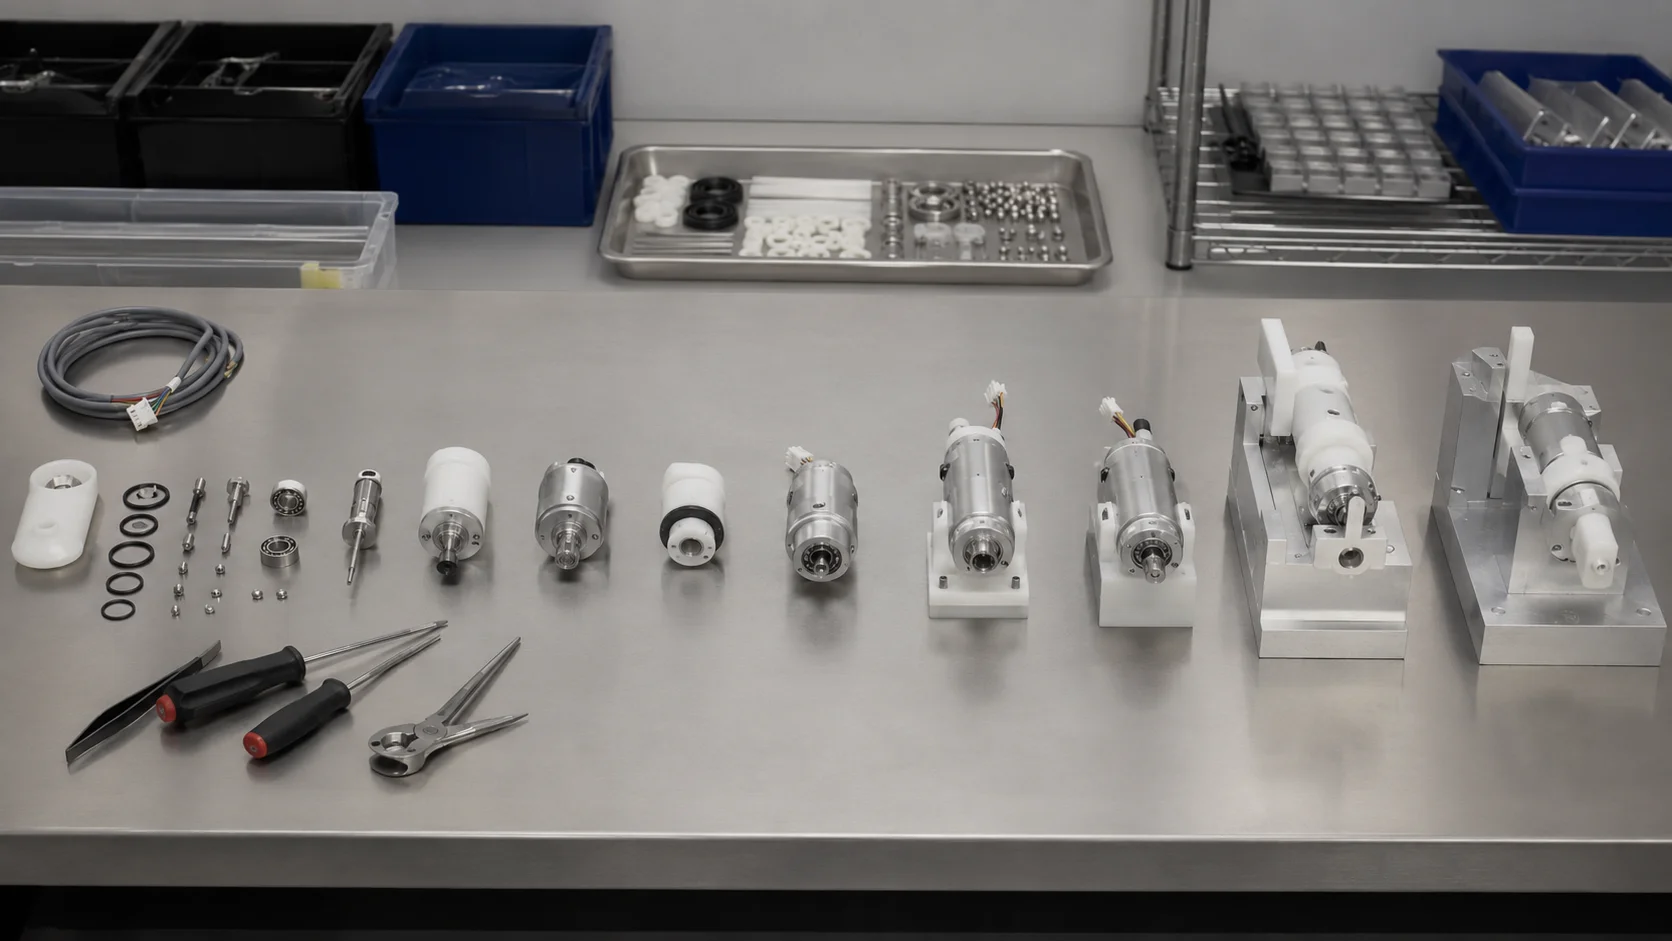
Start with a simple assembly map. List the subassemblies, joining operations, inspection points, and tests in the order they occur. The map does not need to be a production work instruction on day one; it needs to expose dependencies early enough for engineering to change the design.
| Assembly question | What to define | Why it matters |
|---|---|---|
| What locates the part? | Datums, nests, pins, shoulders, or controlled faces | Prevents orientation and stack-up errors. |
| What joins the part? | Screws, inserts, clips, adhesive, welding, or press fit | Determines access, sequence, and serviceability. |
| What must be protected? | Seals, optics, electronics, finishes, and clean surfaces | Reduces handling damage and contamination risk. |
| What proves completion? | Torque, fit, function, visual, or dimensional checks | Creates an objective release decision. |
Design the interfaces before choosing the fastener
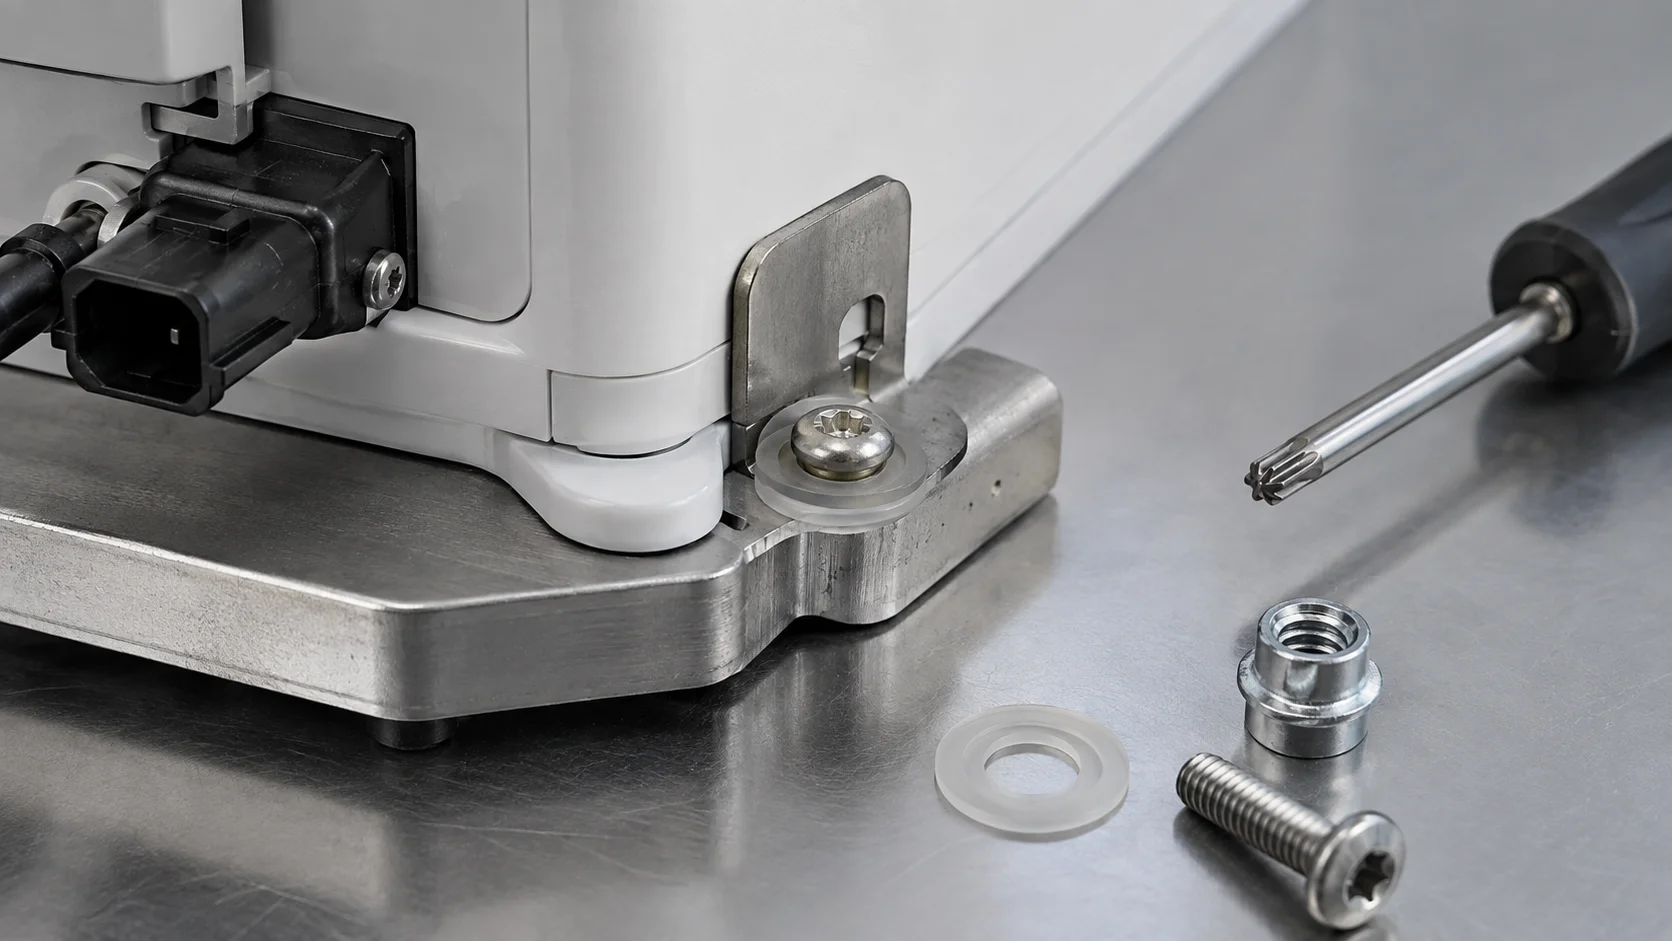
A fastener is only one part of an assembly interface. The surrounding boss, flange, thread, counterbore, washer seat, or insert must carry the intended load without distorting the component. Define the mating surfaces, allowable gap, alignment feature, and tool approach before selecting the hardware. This is particularly important when a molded housing meets a machined insert or a formed enclosure.
For prototypes, use joining methods that allow adjustment and inspection when the design is still changing. A removable fastener may provide better evidence than permanent bonding during an early fit study. As the design stabilizes, the team can compare assembly time, repeatability, service access, and the effect of the joining method on the finished device.
When the assembly includes a fabricated chassis or cover, an early fabricación de chapa metálica review should include hardware access and the bend relationships around mounting points, not only the outer profile.
Control the stack-up at the interfaces
Assembly variation is cumulative. A small shift in a bracket, enclosure, seal, connector, or machined support can move a critical feature farther than any individual drawing tolerance suggests. Use a short stack-up review for interfaces that affect alignment, sealing, optical position, actuator travel, cable strain, or user access.
- Identify the functional datum chain from the base part to the final feature.
- Separate locating dimensions from clearance dimensions.
- Show which surfaces are fixed by the fixture and which are free to float.
- Check the worst-case condition before relying on an adjustment step.
- Verify the assembled state with representative hardware and cables.
Inspection should follow the same logic. Measuring a loose component may confirm that it meets its drawing, but only an assembled check can confirm that the device interface is in the intended position. This distinction is valuable when deciding whether a part needs tighter machining, a better fixture, or a design change.
Choose joining methods around cleaning and service
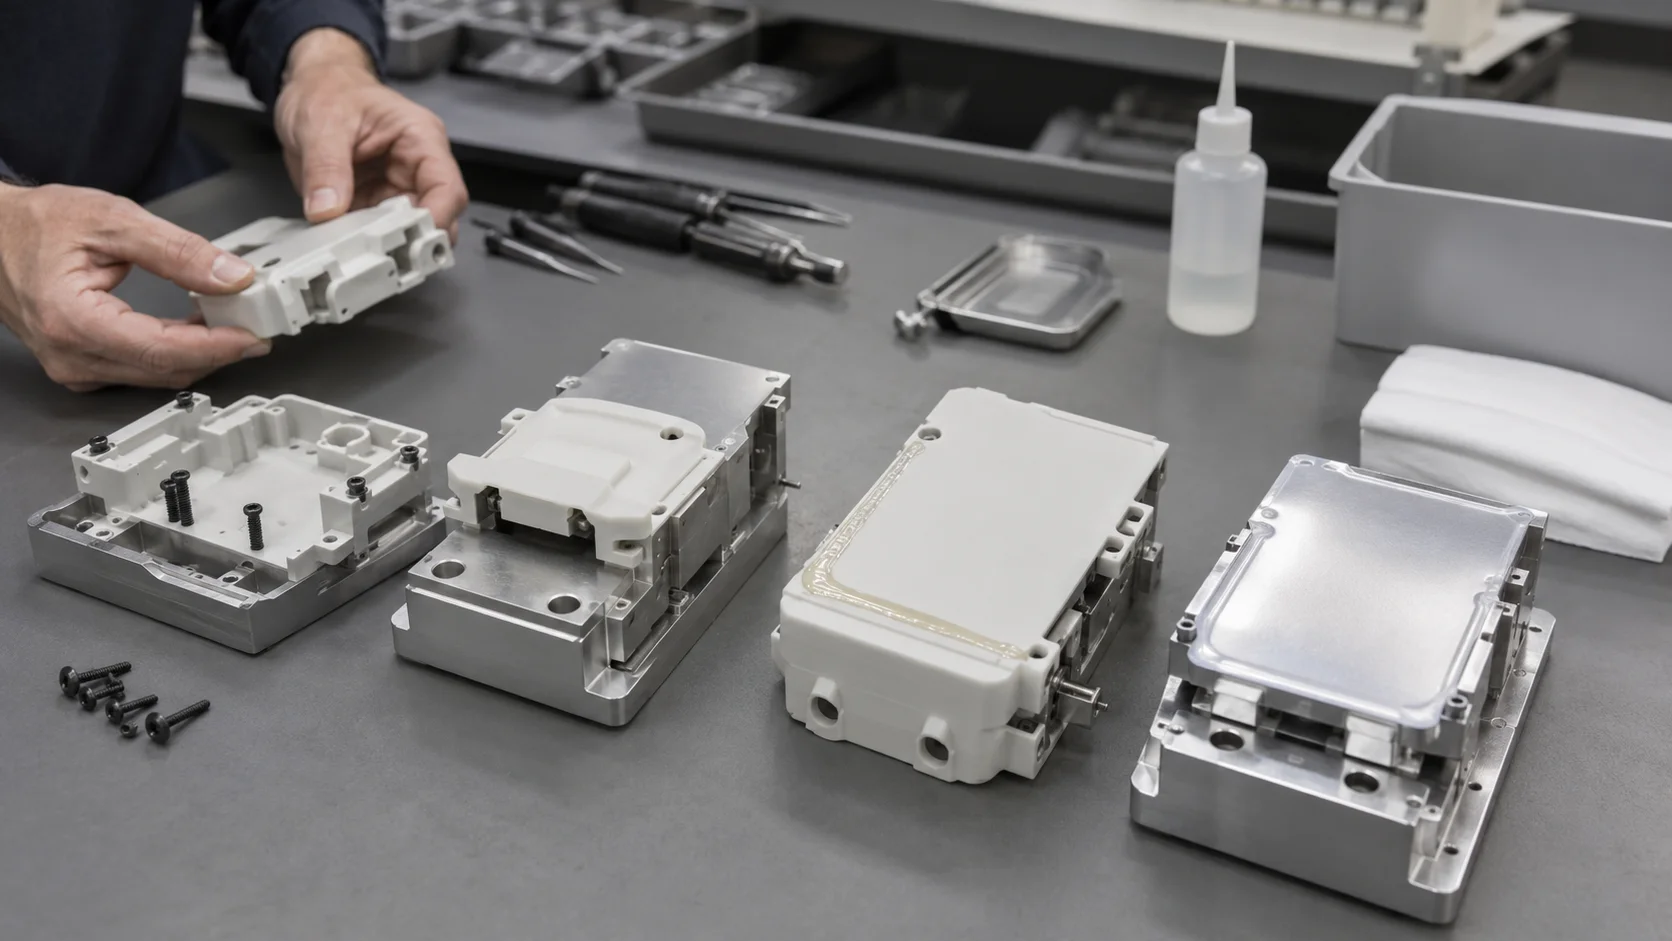
The joining method affects cleanability, repair, rework, and the amount of material exposed to the device environment. Screws and inserts can support service access, while adhesives can reduce visible hardware but introduce cure time, surface preparation, and rework constraints. Clips may simplify assembly but require controlled retention and enough access for inspection. Welding or permanent joining may be appropriate for a structural subassembly when the process and finished condition are understood.
Define the handling rules around the joining operation. Keep protective films or covers on sensitive cosmetic surfaces, separate clean and dirty work areas where appropriate, and avoid placing parts directly on surfaces that can transfer residue. The exact controls should match the device and customer requirements; do not assume that one generic “clean assembly” label is sufficient.
For assemblies using machined components, mecanizado CNC feedback is most useful when it includes the mating condition, not just an isolated dimension. A small chamfer, lead-in, relief, or datum change can make a larger difference to assembly repeatability than a blanket tolerance reduction.
Build the pilot around learning, not speed alone
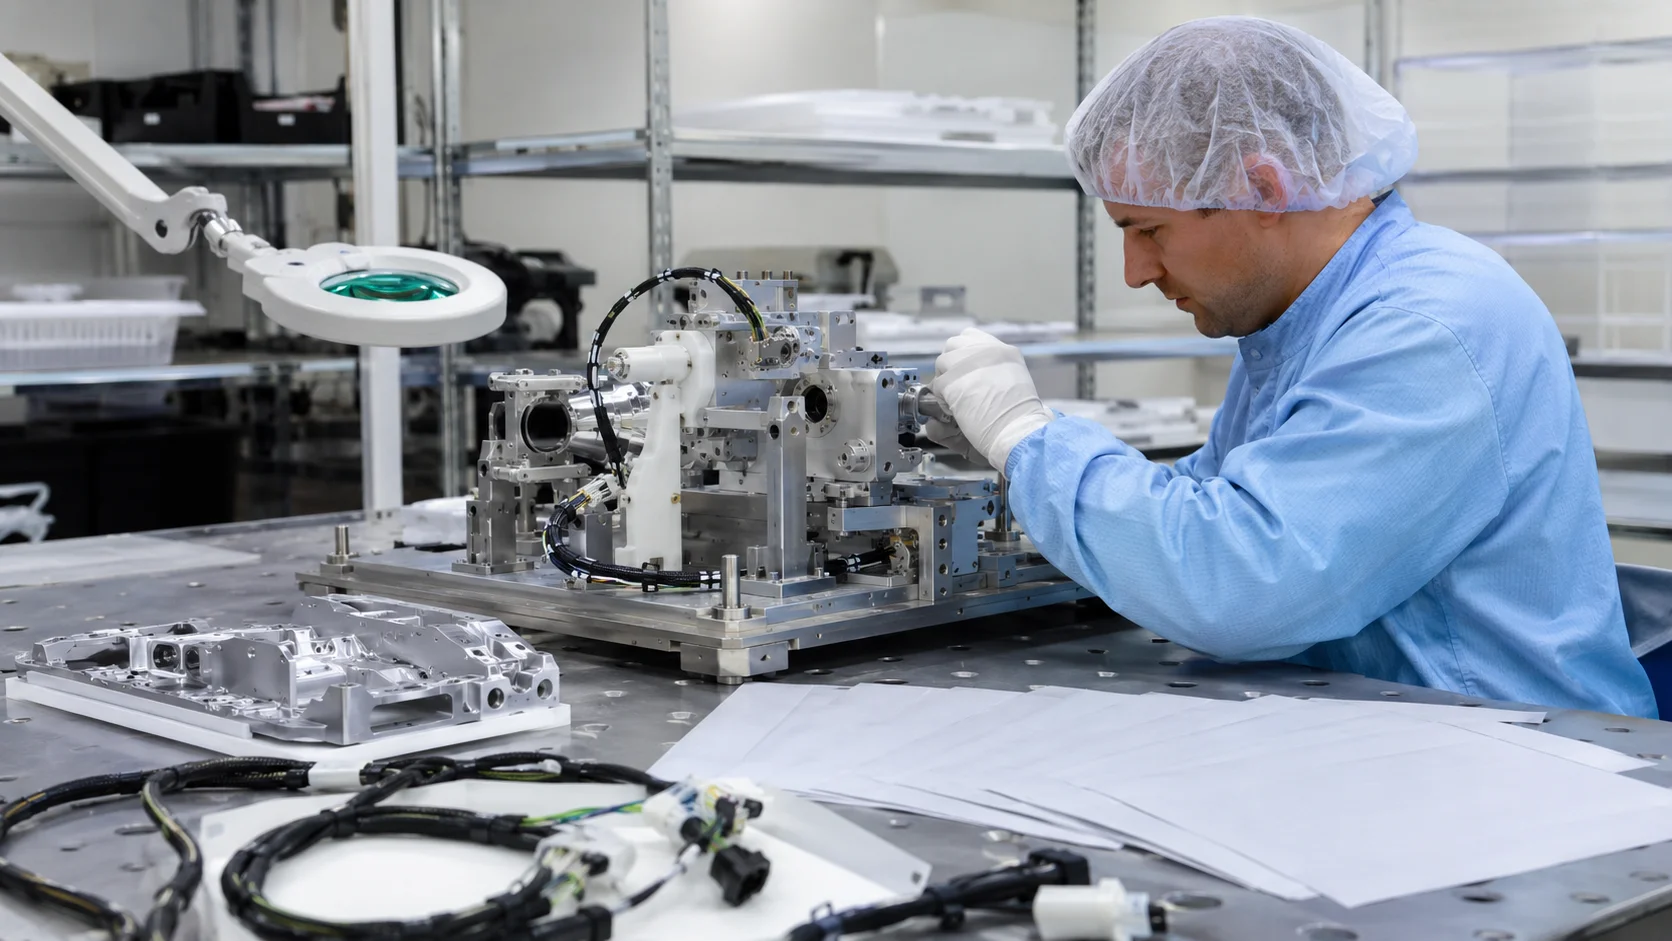
A pilot assembly should answer specific questions: Can the operator orient every part correctly? Are the tools accessible? Does the sequence protect the finish? Can the inspection step be repeated? How much adjustment is needed? Record these observations by revision and link them to the part or operation that caused them. This creates useful evidence for both engineering and purchasing.
Use representative parts for the pilot. A prototype assembled with temporary hardware, substitute materials, or unrepresentative surface finishes may hide the problems that will appear later. If the final material is not available yet, mark the difference clearly and state what the substitute can and cannot prove.
Where a device contains molded housings or elastomeric interfaces, a small low-volume injection molding run can provide more realistic feedback than assembling around a purely cosmetic substitute, provided the project stage justifies the tooling effort.
Write work instructions that answer real questions
A useful work instruction tells the operator what to identify, orient, protect, join, inspect, and record. It should show the correct part revision, the order of operations, tool or torque requirements where applicable, visual checkpoints, and the response to a failed check. Avoid writing instructions that merely repeat the drawing. The operator needs to know how the drawing becomes a controlled physical action.
| Instruction element | Good evidence |
|---|---|
| Part identification | Revision, quantity, orientation, and visual distinguishing features |
| Joining control | Tool, sequence, torque or cure condition when applicable |
| In-process check | Fit, gap, connector access, seal position, or functional test |
| Final release | Named inspection record, disposition, and traceable revision |
Frequently Asked Questions
What should be checked first during medical device assembly?
Check part identity, orientation, mating surfaces, and the primary datum relationship before tightening or permanently joining components. Early errors are easier to correct before they become hidden inside a completed subassembly.
Should a prototype use the final assembly method?
Use the final method when the joining behavior, serviceability, sealing, or user interaction is part of the test. A temporary method can be acceptable for an early form study if its limitations are documented and the assembly evidence is not overstated.
How can assembly feedback improve manufacturing?
Assembly feedback can reveal inaccessible fasteners, excessive adjustment, poor datum choices, finish damage, unclear instructions, and parts that meet individual drawings but fail as a system. Feeding those observations back into design and process planning reduces repeated rework.
Conclusión
Repeatable medical device assembly comes from designing the interfaces, sequence, handling rules, inspection points, and documentation together. Treat the pilot as an evidence-gathering stage, use representative components where the test requires them, and record problems by revision. The result is a manufacturing handoff that engineering, quality, and purchasing can all understand.

