


A polished component can still carry machining fluid inside a blind hole. A molded housing can arrive free of visible dust but retain processing residue at a joint. Medical device cleaning validation addresses this gap: it provides documented evidence that a specified cleaning process consistently achieves justified cleanliness requirements on the relevant device or component.
This article concerns residues introduced during manufacture of newly made parts. It is not a hospital reprocessing instruction, and it does not assume that every component needs the same test panel. Begin with the substances that could remain, the surfaces that matter and the condition of the part when it enters the finished device.
Map the Residue Before Specifying the Wash
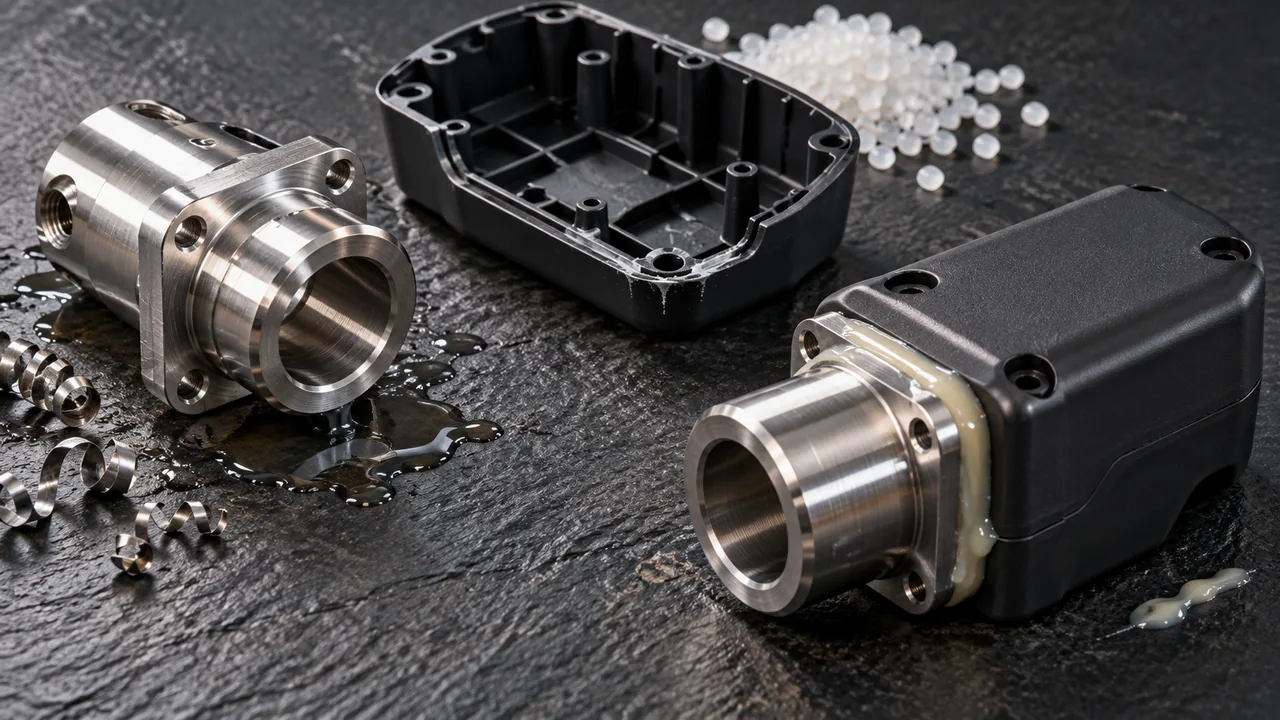
Follow the part through its real route. A machined stainless steel component may encounter coolant, cutting oil, deburring media, inspection fixtures and protective packaging. A molded polymer component may encounter handling contamination, assembly aids or a deliberately applied lubricant. A bonded assembly adds adhesive and curing-related considerations.
Separate intended material from unintended residue. A functional lubricant may be part of the design specification; removing it could damage performance. Conversely, a chemical used temporarily during production may be unacceptable on the delivered part. The cleaning instruction should not decide this distinction informally on the shop floor.
Create a residue register with the process step, substance identity, possible location and reason for concern. Include supplier-supplied components and subcontracted finishing. Without this upstream map, a laboratory can perform an accurate test for the wrong contaminant.
Cleanliness belongs within the medical device manufacturing processes route. It is not an isolated final wash that compensates for uncontrolled machining, handling and storage earlier in the process.
Find the Places a Good-Looking Part Can Hide Residue
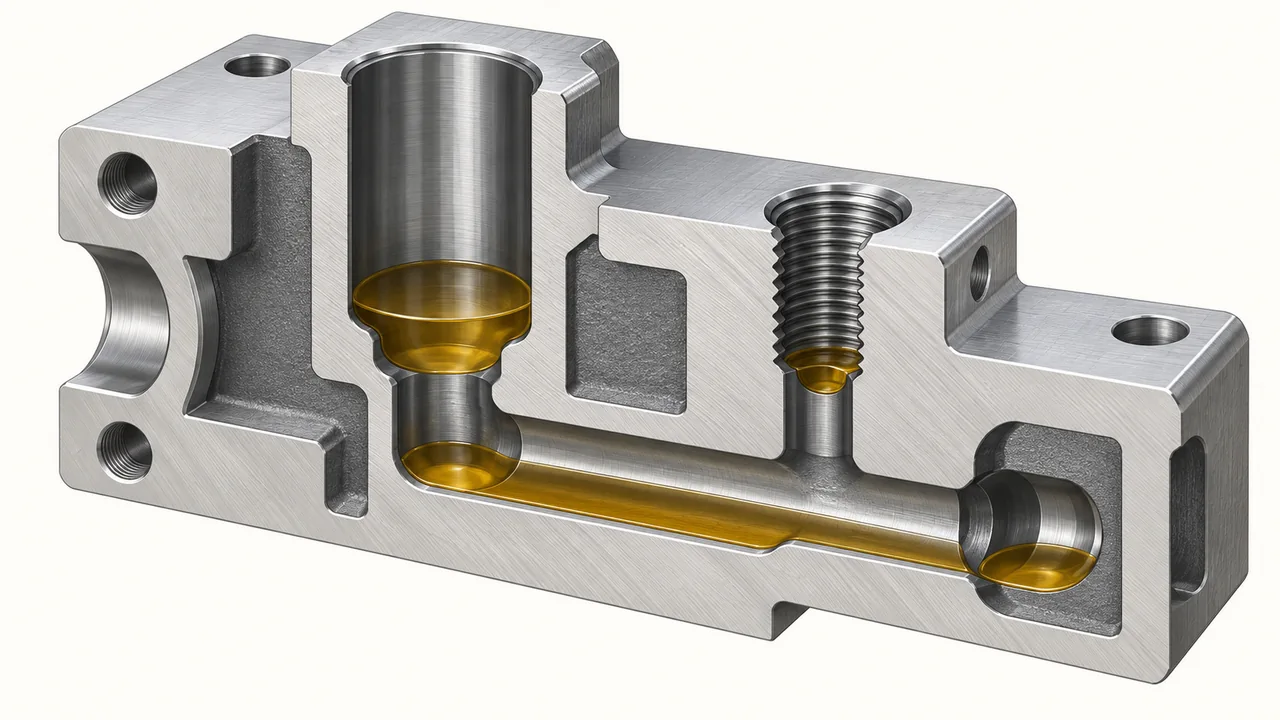
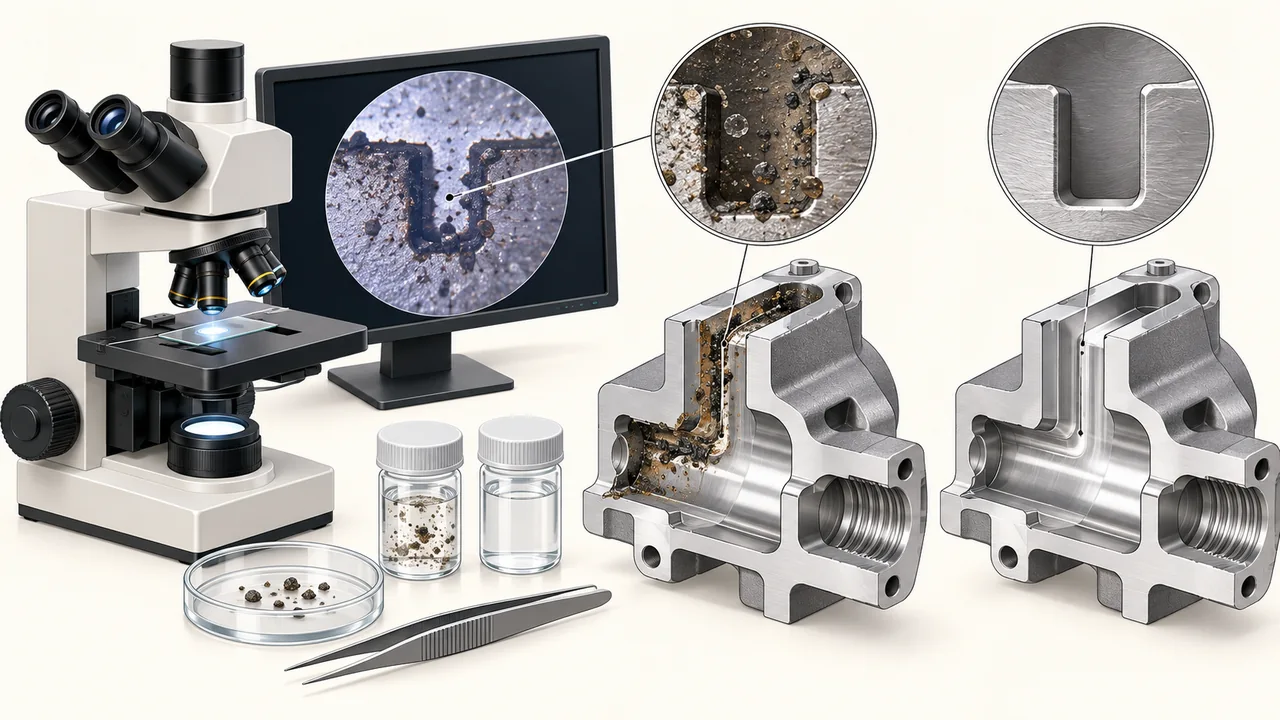
The worst-case part is not automatically the largest one. A small deep recess may be harder to clean than a broad exposed surface. Narrow passages, intersecting bores, textured areas, porous surfaces and an assembled interface can affect access, drainage and subsequent sampling.
Use the drawing and a representative physical part together. CAD reveals the intended geometry; the actual part reveals burrs, roughness, trapped media and manufacturing variation. A review based only on a smooth digital model can miss the feature that determines cleaning difficulty.
| Location | Potential difficulty | Planning response |
|---|---|---|
| Blind threaded hole | Restricted exchange and retained liquid | Evaluate cleaning access, drainage and sampling recovery |
| Intersecting bore | Burrs and a shielded internal edge | Inspect the intersection before defining a wash route |
| Bonded overlap | Closed interface after assembly | Decide whether cleaning must occur before bonding |
| Fine molded recess | Local debris retention | Review handling and the relevant inspection view |
| Rough or porous surface | Residue retained below the exposed surface | Select a justified extraction and analytical approach |
Grouping parts can reduce unnecessary testing, but the grouping rationale must explain why the selected geometry and manufacturing history represent the other members. A similarity in material name alone is not enough.
Sampling Is Part of the Measurement System
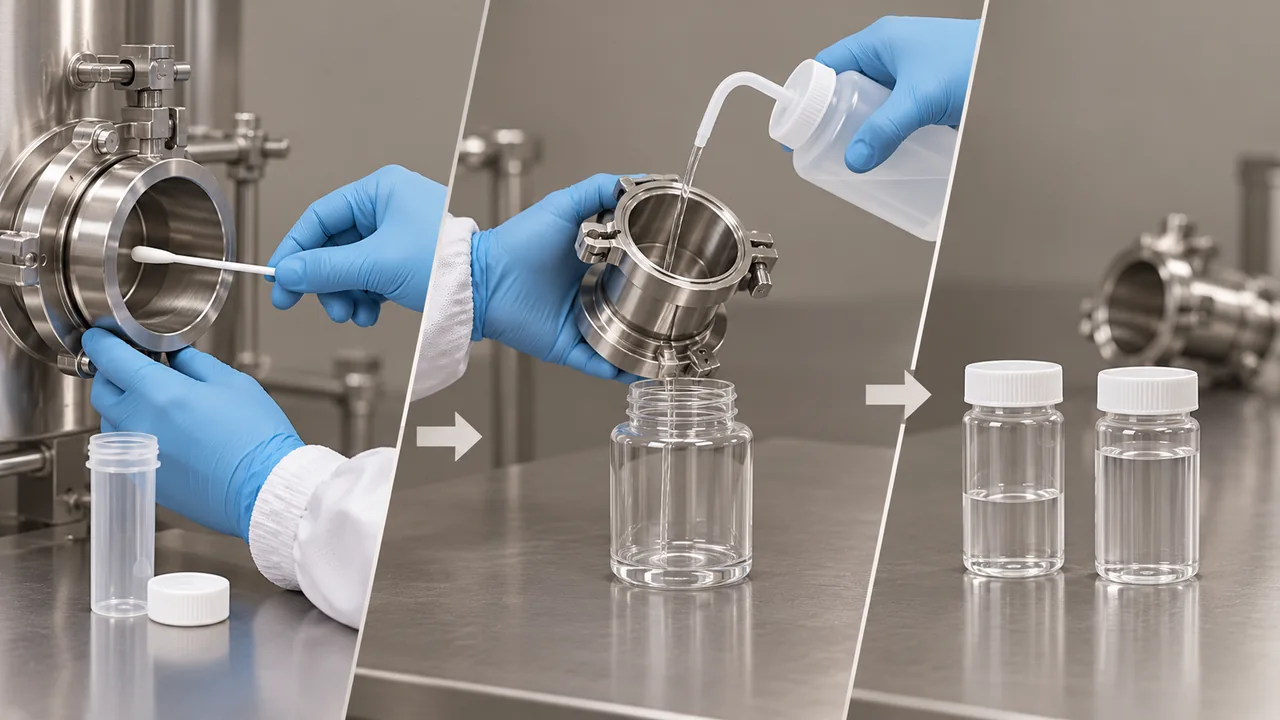
A test result describes what the sampling method recovered, not automatically everything that remained. Swabbing can target a specific accessible area. Rinsing or extraction can reach different surfaces, but a bulk sample may dilute a localized contaminant or fail to release a strongly attached residue.
Select the method around the geometry and the analyte. Consider the solvent or rinse medium, exposure conditions, sampled surface area and whether the method itself changes the part. Establish appropriate blanks to distinguish contamination introduced by containers, tools and the sampling environment from contamination on the component.
Recovery matters because an apparently low result may reflect poor sampling efficiency. The study should investigate the selected method on relevant surfaces and contaminants. A high recovery demonstrated on a flat metal coupon cannot automatically be transferred to a complex polymer assembly.
An Illustrative Recovery Calculation
Suppose a development experiment applies a known residue amount and the sampling method recovers 80 percent under defined conditions. That result raises a practical question: how will the analysis account for material that is not recovered? It is not permission to declare the finished device clean. The responsible specialists must justify the correction, method suitability and acceptance decision.
Choose an analytical method that can detect the relevant substance at the required level. A nonspecific measurement may help monitor a broad residue class but may not distinguish the contaminant that matters. Report method limitations alongside the result instead of presenting a number without context.
Acceptance Limits Must Have a Device-Specific Basis
Avoid copying a limit from a different device or from pharmaceutical equipment cleaning. Manufacturing residues, patient-contact conditions and the consequences of contamination are not interchangeable. The device owner and qualified technical specialists should establish justified limits for the relevant endpoints.
Define the reporting units carefully. A result per component, per surface area and per extraction volume can mean different things. If a laboratory reports concentration, the evaluation must relate that concentration to the extracted amount and the device configuration rather than comparing unrelated units.
Visible cleanliness, particles, chemical residues, bioburden and endotoxin are separate considerations. Their applicability depends on the device and manufacturing context. Neither a visual inspection nor a sterile result automatically proves that other residue-related requirements have been satisfied.
Nelson Labs’ discussion of newly manufactured device cleaning distinguishes residual contamination sources and analytical methods as planning topics. Laboratory input should therefore begin while the residue map and sample configuration can still be improved, not after unrepresentative samples have already been shipped.
Challenge the Manufacturing Conditions That Matter
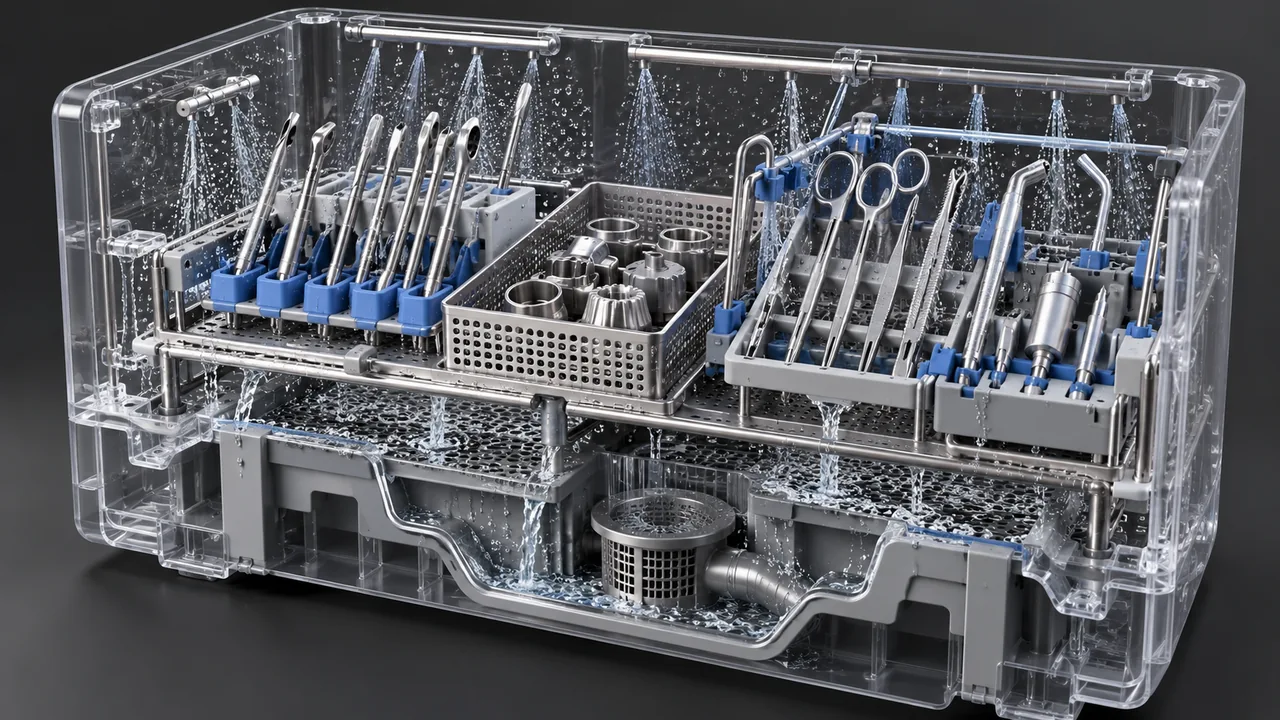
Validate the defined route, including the incoming condition of the part. Longer delays before cleaning, heavily loaded fixtures, contamination at the end of a production run and difficult orientations may challenge performance. Select conditions through a documented rationale rather than inventing a universal number of cycles or samples.
Record controlled parameters such as chemistry, concentration, temperature, exposure, equipment configuration and drying where they affect the process. Equipment settings alone are insufficient if the part is arranged differently each time. A basket that shields a cavity or allows parts to nest can alter the result.
For components produced by mecanizado CNC, document the relevant coolant and finishing route. If the machinist changes the fluid or a subcontractor introduces a new polishing compound, review whether the established cleaning evidence still represents production.
Take samples at the relevant point of release. A component tested immediately after washing can be recontaminated during inspection, assembly or packaging. Include these downstream interfaces in the manufacturing plan and specify how cleaned parts are identified, protected and separated from uncleaned work.
Keep the Evidence Useful After Validation
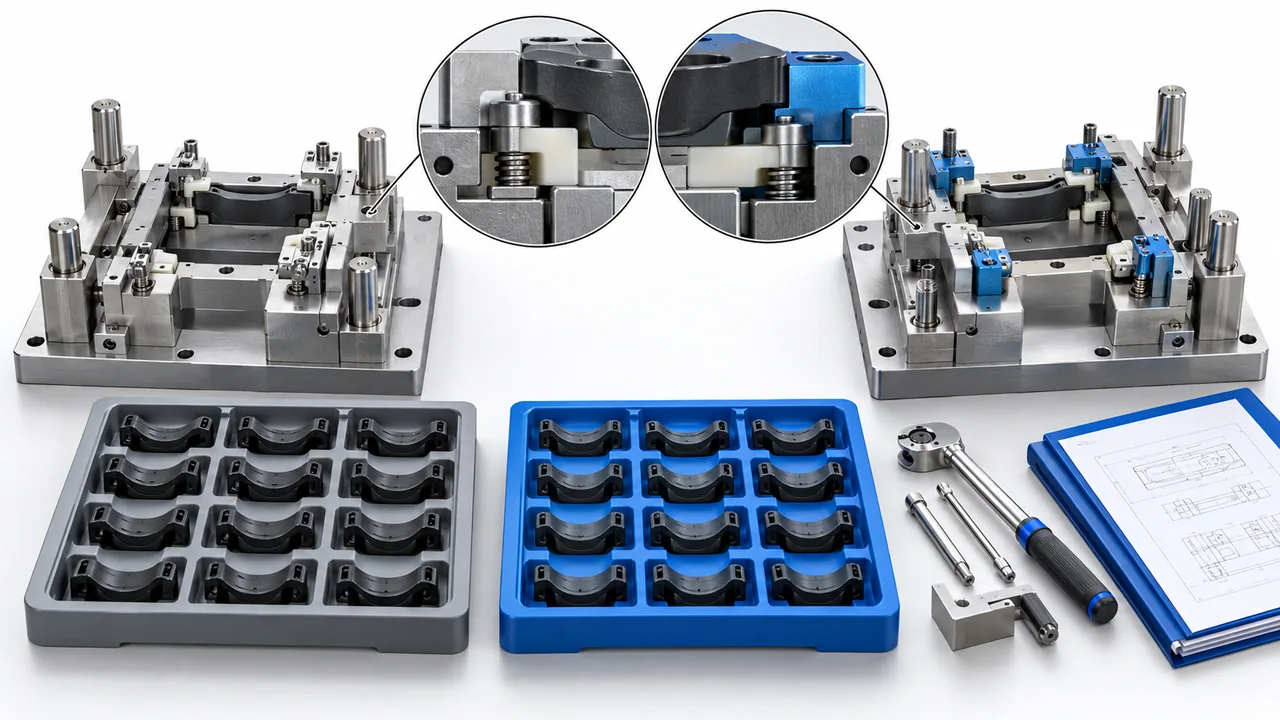
The practical output is a controlled cleaning instruction, a justified sampling and analytical plan, acceptance criteria, results and a defined response to changes. Establish routine monitoring that is proportionate to the risk and capable of detecting meaningful drift.
Do not treat cleanroom manufacturing as a substitute for cleaning validation. Environmental control can help prevent contamination, but it does not establish that a particular wash removes machining residue from a difficult feature.
Before requesting a manufacturing quotation from Jucheng, explain the component’s release condition, prohibited substances, planned cleanliness evaluation and responsibilities for specialist testing. This lets machining, molding, finishing and packaging decisions support the cleanliness objective without implying that part manufacture includes every regulatory validation service.
Practical Questions About Cleanliness Evidence
Can visual inspection be the only cleanliness check?
It can address a defined visible condition, but it cannot demonstrate removal of invisible chemical residue. Determine the relevant contamination risks first, then justify whether visual inspection and any additional methods answer those risks.
Does sterilization eliminate the need to control manufacturing residue?
No. Sterilization and residue removal answer different questions. A process intended to address microorganisms does not automatically remove oil, detergent, particles or other manufacturing-related contamination.
Must every part variant undergo a separate validation?
Not necessarily. A justified family or worst-case approach may be appropriate. Explain similarities and differences in geometry, material, residues, cleaning access and downstream handling, and document why the selected configuration represents the others.
What should trigger a review of the existing evidence?
Consider changes to residue-generating substances, geometry, surface treatment, cleaning equipment, chemistry, loading and protective handling. Assess the impact before assuming a change is insignificant, and define the required action through the controlled change process.

